Table of Contents
A while back I had a post where I talked about setting up .net core in docker using SSL and a HTTPS port you can read that here
To make a .net core project work on a HTTPS port you need to pass it the cert. One way to do this is to create a PFX cert and load it into the project during the compile. This then means Kestrel will be listening on the HTTPS port for you.
We would configure our .net core app as follows
.UseKestrel(options =>
    options.Listen(IPAddress.Any, 8050, listenOptions =>
    listenOptions.UseHttps("demowebapp.pfx", "XXXX")))
The important part: There are a few ways to do this but this is the way I'm going to cover the way I do it not to say there aren't other very valid ways of doing it.
Windows subsystem for Linux
In windows 10 they gave us a subsystem of Ubuntu on Windows. If you haven't tried it check it out here
OpenSSL
I use openSSL inside the subsystem. OpenSSL is a powerful set of tools for creating certs on either linux or windows.
Once I install it
sudo apt-get install opensslCloudflare
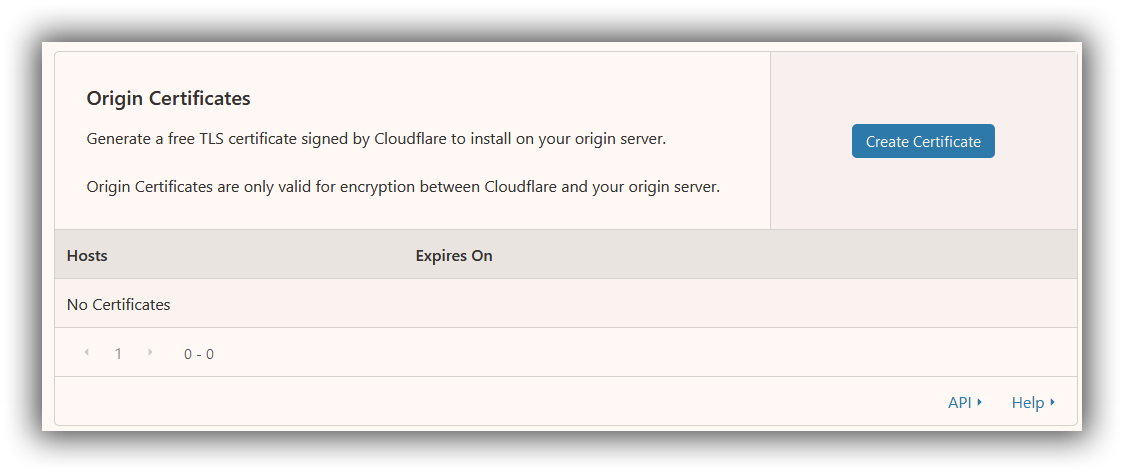
I use cloudflare for alot of my DNS and caching, etc. One thing it can do is give me origin certificates.
Under the SSL / TLS option

When you create a certificate you can set how long it is valid. Because this is my origin and not my edge I can set it to a longer life than a few months. I've explained part of this in my Lets talk about HTTPS post.
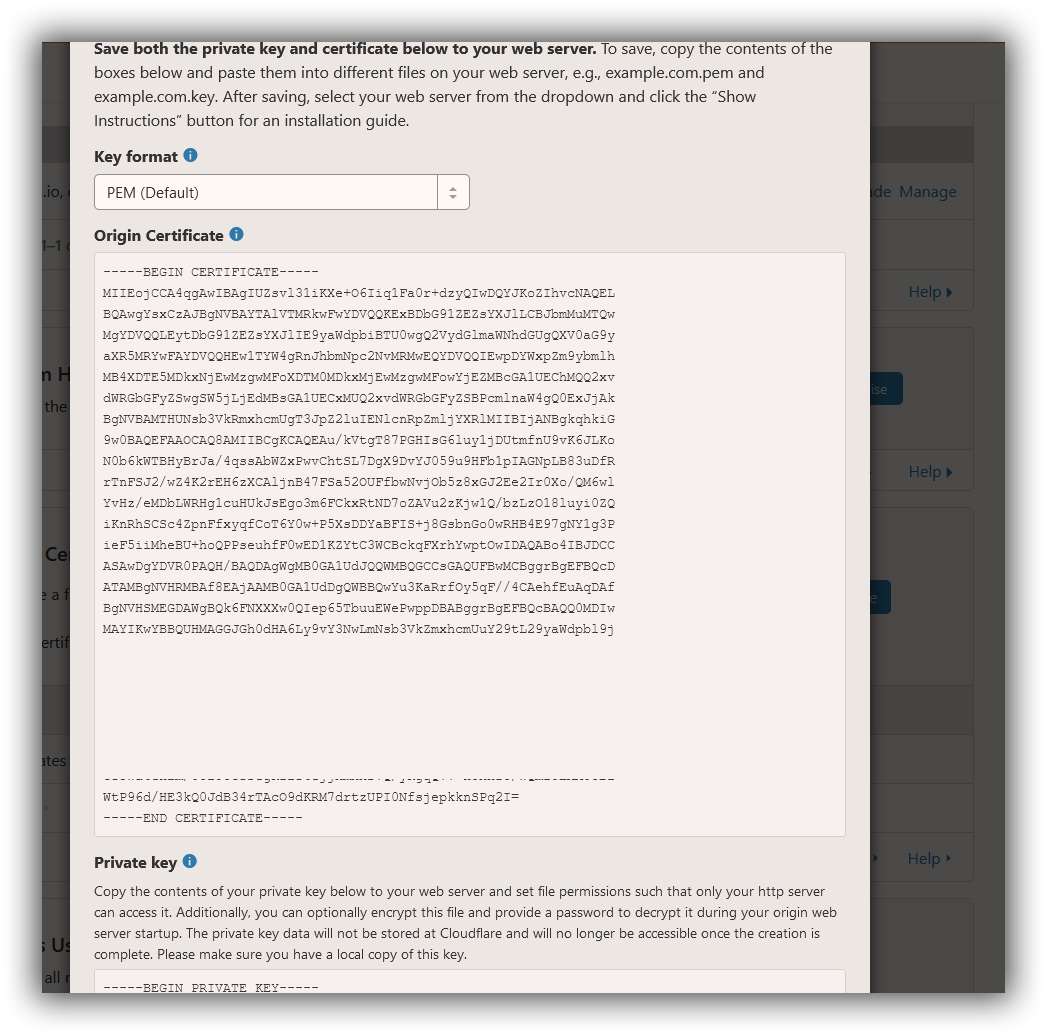
So once you do that you can generate a PEM Key Format, it will look something like this

Copy text between the "Begin and End Certificate" including those lines and you can create two files
- mynewcert.pem
- mynewcert.key
In the end these are just text files you need to save onto your computer.
Create PFX Certificate
Now the big bit. In our Linux subsystem we need to mount our drive and find the folder containing our .key and .pem files.
To mount the C: just do the following
cd /mnt/cYou can then move to the folder you saved the .key and .pem file.
Now the bit to generate the .pfx certificate.
openssl pkcs12 -export -inkey mynewcert.key -in mynewcert.pem -name myCert -out mynewcert.pfxThis will generate a .pfx file and save it to the same folder and adds the password when it's generated.
And that's it, you have a .pfx file now, you can copy that into the .net core app and set the password.

