Table of Contents
It was time to do it, it was time to go HTTPS crazy or at least try it and see what I can break.
Lets Encrypt
Lets Encrypt is an SSL Certificate Authority, it's free and automated. Certs are valid for a few months at a time and it handles the renewal.
The two main reasons to avoid going through SSL setup on sites were renewing and the
price. Lets Encrypt has done away with both these issues.
Windows Azure
My first two sites that I was looking at changing ExtractorApp and CloudStatus are both hosted on Windows Azure as web apps.
I found a great Azure Web App Site Extension created by Simon J.K. Pedersen or in Github
Custom Domain Names
Make sure you have custom domains set up and configured on your Azure Webapps.
Getting the Extension Set up
This is a quick step by step to set up.
Service Principal
A service principal is a Azure AD entry that can be used for unattended access to Azure resources. Think of it like a Service Account. You need to create a service principal and grant it access to the resource groups. Lets encrypt site extension will then be able to renew your certificate without manual involvement. The Service principal also makes it easy to install the first time around. 1 service principal can be used over multiple web apps also once it's under your subscription.
Create service Principal.
Login into Azure
Browse for Active Directory, this will open the Classic portal(as of this post being published)
I already had a "Default Directory" so in the Default Directory (if you don't have a directory create one)
In the directory select "Applications" and then add

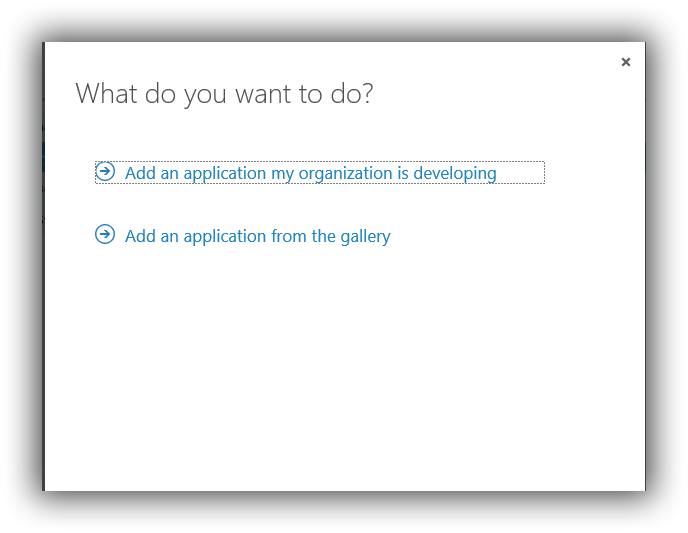
Select "An Application developed by my organisation"
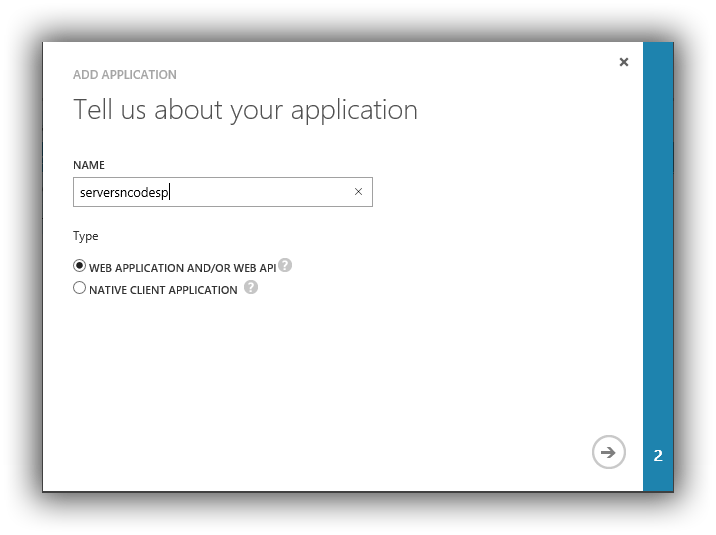
Give it a name, this will also become the name of the service principal, and select WEB APPLICATION AND/OR WEB API and click next.
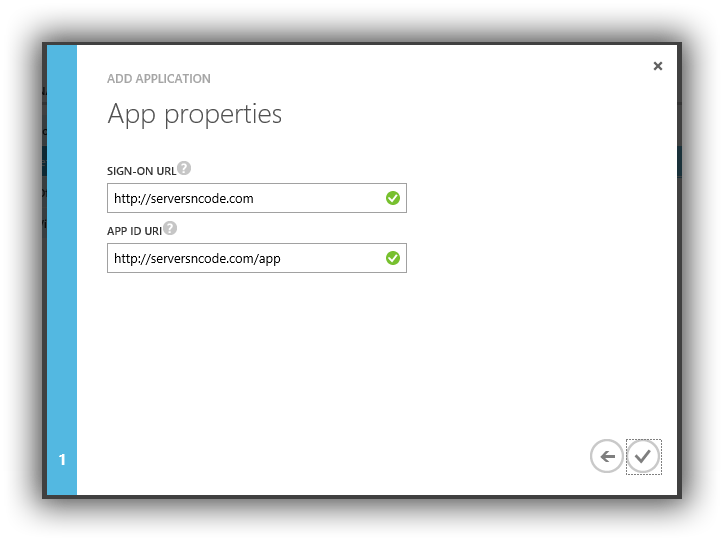
Set the URI they just have to be valid urls they are not validated or tested.
You now have a service principal. I told you it wasn't going to hurt
Next we need to collect some information
Client ID
The service principal is uniquely identified by its client id to get that, select the Configure tab and copy the Client ID.

Client Secret
Just below the Client Id on the configure tab is the keys, First select a duration, 1 year, 2 years. Then once you hit save it will generate a key COPY THIS as once you leave this page you can't get it again.
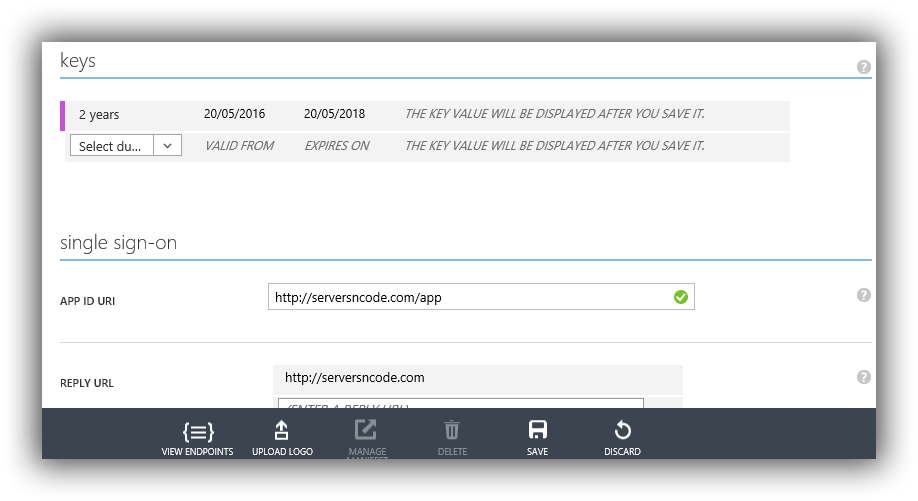
Grant permissions to the Service Principal
Next we need to give permission to the service principal back to the new portal and the resource group. We'll grant the service principal "Contribute" access.
Back to the new portal and open the "Resource Groups"
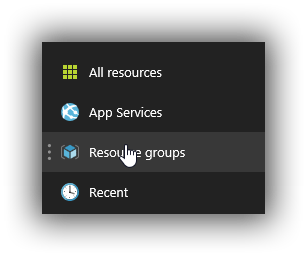
Select the "Resource Group" you want and then select "Access"
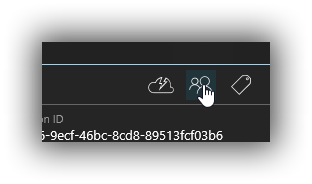
Select Add to add a new user.
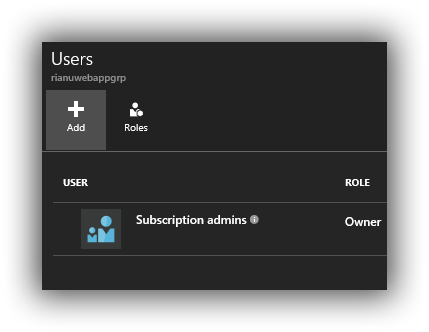
Select a Role - Select "Contributor"
In the add User enter the name of the Service Principal to filter.
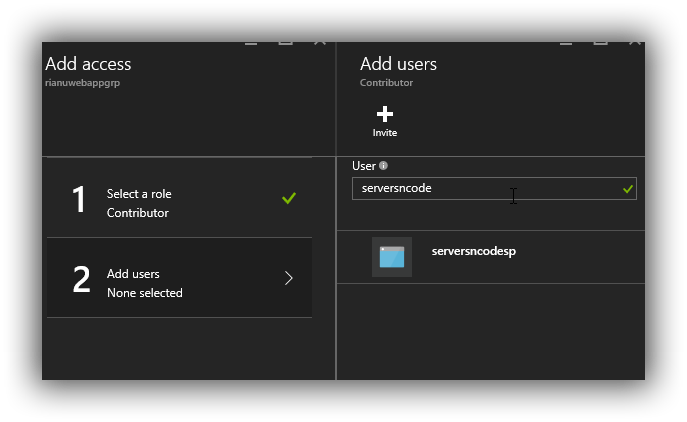
Select this and then we'll add Lets encrypt
Install the Lets Encrypt Site Extension
Head to the Kudu scm for your Azure webapp.
YOURWEBSITE.scm.azurewebsites.net
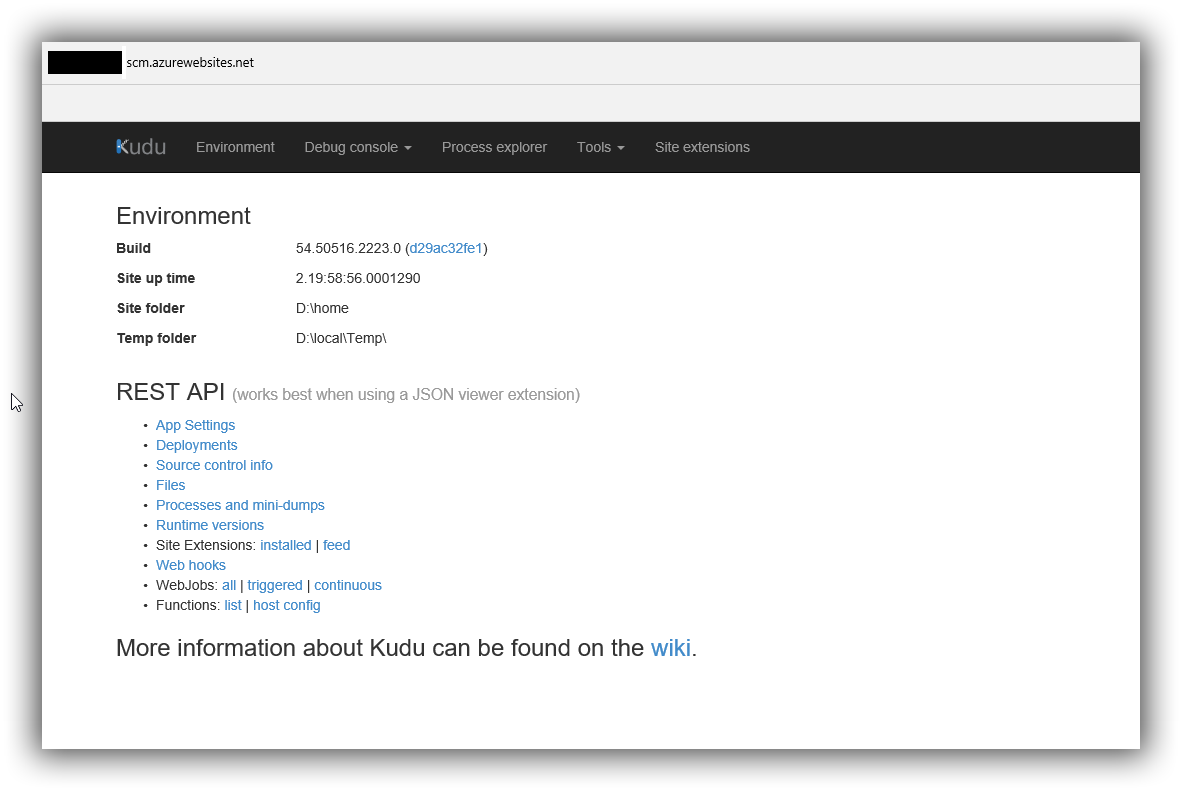
Select "Site Extensions"
Select Gallery and search for "Lets encrypt"
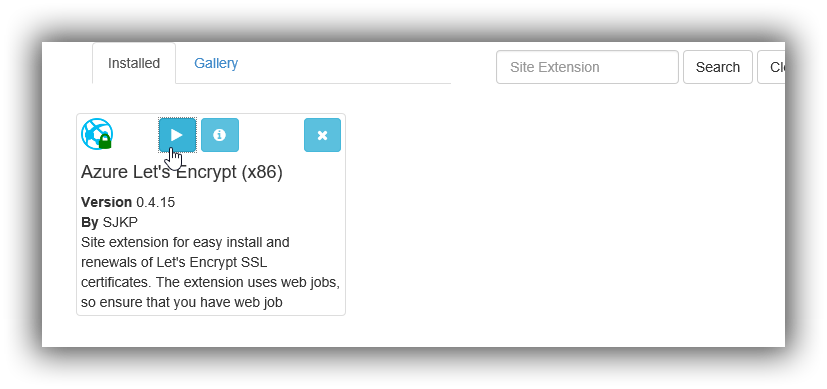
Configure the Site Extension
Once the site Extension is installed follow the steps and restart the website as needed.
Open the Azure Lets encyrypt extension. (click the play button)
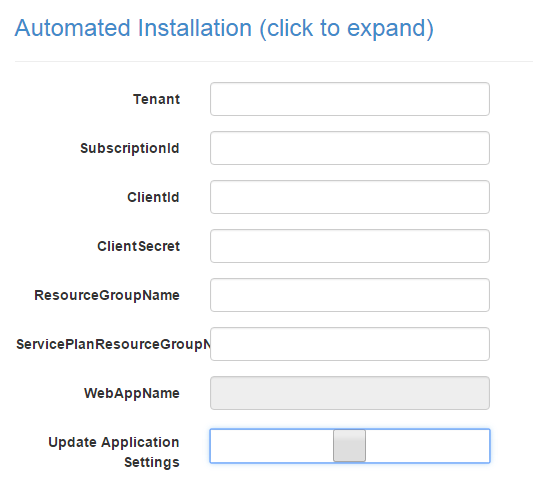
- Tenant - is the tenant name of the Azure AD that the service principal was created in mine was: yourdomain.onmicrosoft.com not sure if that's the same for everyone.
- SubscriptionId - is the subscription id that the resource groups belongs to.
- ClientId - is the client id of the application/service principal you saved earlier.
- ClientSecret - is the key you created for the service principal.
- ResourceGroupName - is the name of the resource group that you granted access to earlier.
- ServicePlanResourceGroupName - is the name of the resource group.
Tick the "Update Application Settings" and hit Next
And that's it. You should see a list of host names with a list of "Certificates"
And that's it your done. If you open the Website as https://Domain name.
I was able to use the same service principal for multiple apps within the same resource group.
I've used this for CloudStatus and ExtractorApp
Renewal
The Azure extension handles the renewal of the cert with an Azure Web Job. This has failed on my sites but all I had to do was go into the Kudo and then reset the cert took 30 seconds. I'll dig into why the webjob failed and update this post with those steps. If I haven't and you have an suggestions let me know.


